
Recessed Lighting Installation Cost in 2026 Explained
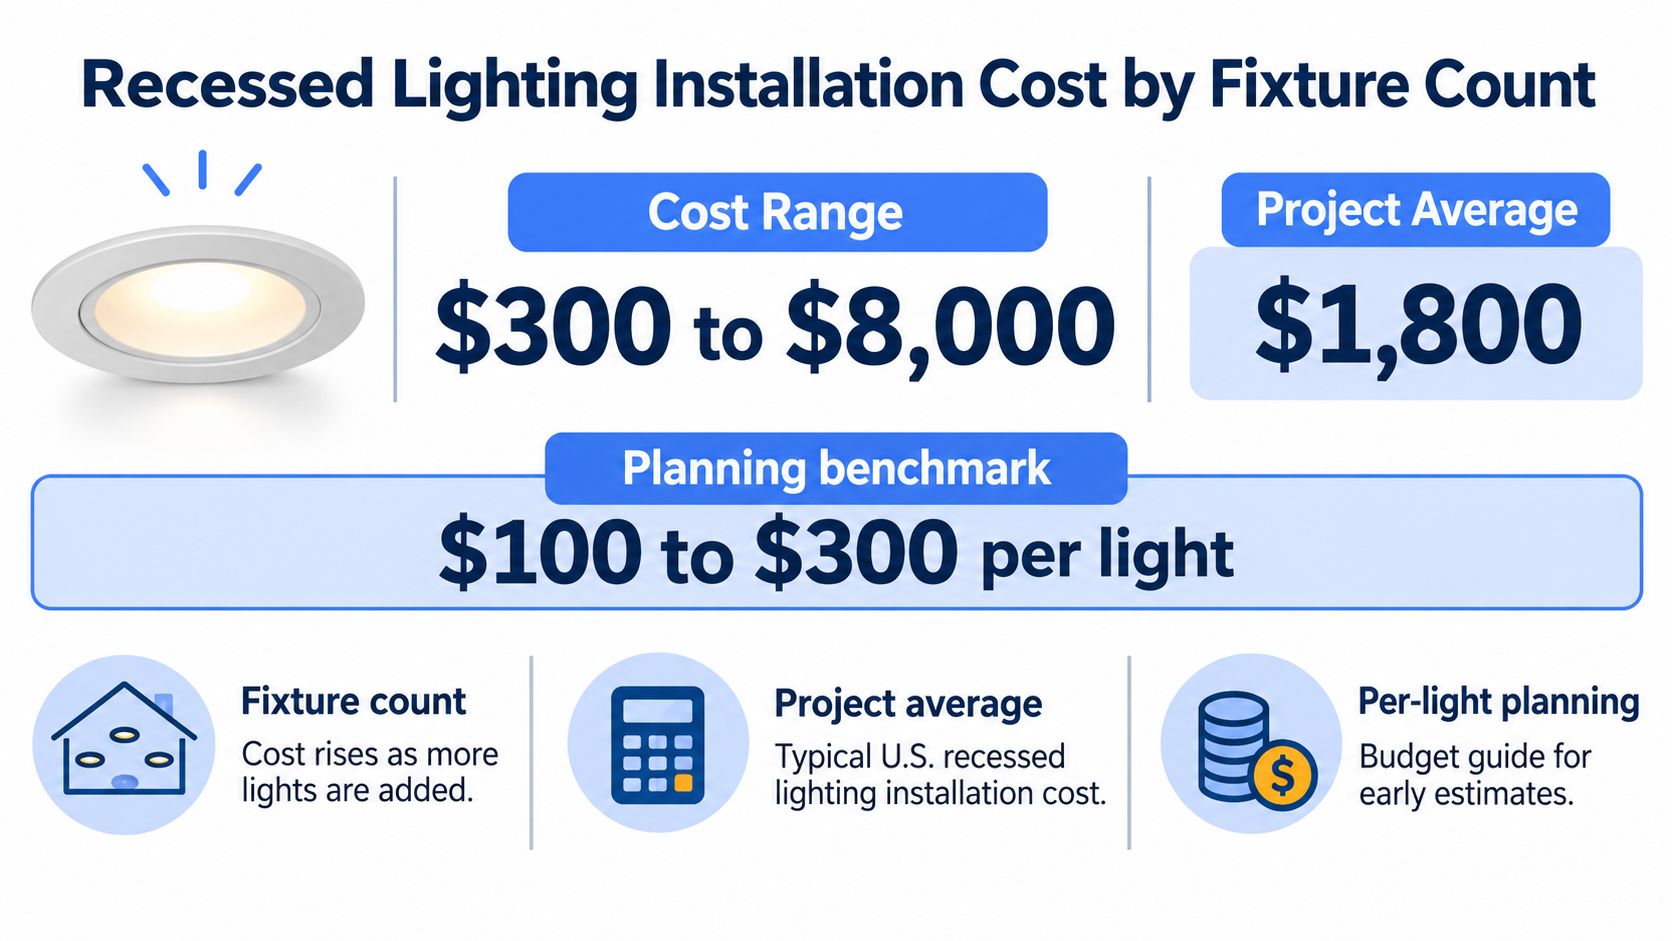
Recessed lighting installation cost in the U.S. ranges from $300 to $8,000, with $100 to $300 per fixture as a planning benchmark including materials and labor. Match your project to the fixture-count bands below, then adjust your expectations for ceiling access, wiring, and the work included in the quote.
The fixture you see from the room is only part of what you're buying. An electrician may need to find a cable route through closed framing, protect existing finishes, verify the circuit, and coordinate an inspection before the installation is complete. That's why matching fixture counts don't necessarily produce matching prices.
Table of Contents
Recessed Lighting Installation Cost by Fixture Count - How to read the price bands - Establish the scope before shopping
Why Cost per Light Misleads Your Budget - Separate fixed charges from fixture charges - Make the denominator meaningful
How Ceiling Access Changes the Labor Hours - What the electrician does above the trim - Check the hours without treating them as a cap
Canless, Housed, and Retrofit Options Compared - Choose by what already exists - Check compatibility before ordering
Wiring, Switches, and Dimmers Add Cost - Switch position and cable routes - Match the dimmer to the LED driver
Permits and Corrective Work That Raise the Total - Identify the electrical scope - Assign responsibility for corrections
Confirm an Itemized Quote Before You Book - Turn the proposal into a booking decision
Recessed Lighting Installation Cost by Fixture Count
A U.S. recessed lighting project costs $300 to $8,000, averaging approximately $1,800, according to Angi's recessed lighting cost guide, which provides the fixture-count bands below.
Fixture count | Typical total cost | Usual scope |
|---|---|---|
2 to 4 lights | $300 to $900 | Single small room |
4 to 6 lights | $700 to $1,400 | Small kitchen, hallway or bathroom |
6 to 10 lights | $1,200 to $2,500 | Kitchen or open living area |
10 to 16 lights | $2,000 to $4,000 | Large open-plan space or two rooms |
20 or more lights | $3,500 to $8,000 | Whole-home design |
These are total installed project ranges, not fixture shelf prices. Angi's planning benchmark includes typical materials and labor, but you still need to check the contractor's definition of a complete installation.
How to read the price bands
The overlapping rows are useful because fixture count isn't a precise pricing formula. A project at the boundary between rows can reasonably fit either band, depending on the installation conditions. Don't choose the lower row just because your count qualifies.
Say you're planning a kitchen with six recessed lights in a finished ceiling. That project sits between the small-kitchen and larger-kitchen categories. An accessible attic and a usable lighting circuit make it a different job from the same layout beneath an occupied room, where the electrician must work through closed cavities.
The room descriptions are scope examples, not lighting-design recommendations. A kitchen's required layout depends on ceiling height, cabinet positions, work surfaces, beam spread, and the other lighting already available. Adding fixtures without considering those details can produce glare instead of better illumination.
Establish the scope before shopping
Mark the intended fixture positions on a room sketch before requesting prices. Include cabinets, ceiling fans, beams, and any existing fixtures you want removed. The electrician can then check whether the proposed openings conflict with framing or equipment above the ceiling.
Separate your project into these categories:
New construction or open renovation: The framing and cable routes are exposed before the ceiling is closed.
Finished-ceiling installation: New openings and electrical connections must be made around existing finishes.
Replacement or add-on: Existing equipment may be reusable, but its condition and compatibility still need checking.
Count fixtures per room, find the matching band, and write the installation category beside it. That gives you a useful starting budget without pretending every ceiling presents the same work.
Why Cost per Light Misleads Your Budget
A moving company's truck charge doesn't disappear because you're moving only a few boxes. Electrical contractors also have costs that don't shrink in direct proportion to the number of lights.
The distinction is easier to see when you separate the service visit from the equipment installed.

Separate fixed charges from fixture charges
Variable costs include the fixture, trim, cable, connectors, and installation work associated with each location. Fixed or project-level costs can include travel, setup, protection of the room, minimum labor charges, and cleanup. Permit administration may also appear as a project charge rather than a fixture charge.
Handoff's recessed lighting cost discussion describes published estimates of roughly $100 to $300 per light for straightforward canless retrofits alongside a national estimate of approximately $380 to $529 per light, with the higher figure potentially including setup, demolition, supplies, cleanup, and minimum-job time.
Those estimates aren't automatically contradictory. They can describe different scopes, different access conditions, or different ways of allocating project expenses. A contractor who spreads the service-visit charge across a small installation will show a higher unit price than one spreading it across a larger project.
Budget rule: Compare complete scopes before comparing per-light prices.
Make the denominator meaningful
Dividing a proposal's total by its fixture count is useful only after you know what's included. A low unit price that leaves you arranging drywall repairs isn't equivalent to a higher price that includes restoring the ceiling.
Ask for a written distinction between included work, allowances, and exclusions. An allowance is a budgeting provision, not necessarily a fixed commitment to complete the work at that amount.
For a visual look at recessed lighting installation, use the video alongside the written scope rather than as a substitute for a site assessment.
Before comparing proposals, identify whether ceiling patching, disposal, testing, and permit administration are included or billed separately. The total price for a defined result matters more than the advertised price per light.
How Ceiling Access Changes the Labor Hours
The ceiling is where much of the labor goes. Buying an LED module doesn't tell you what it will take to get cable, connections, and the fixture into the correct location.
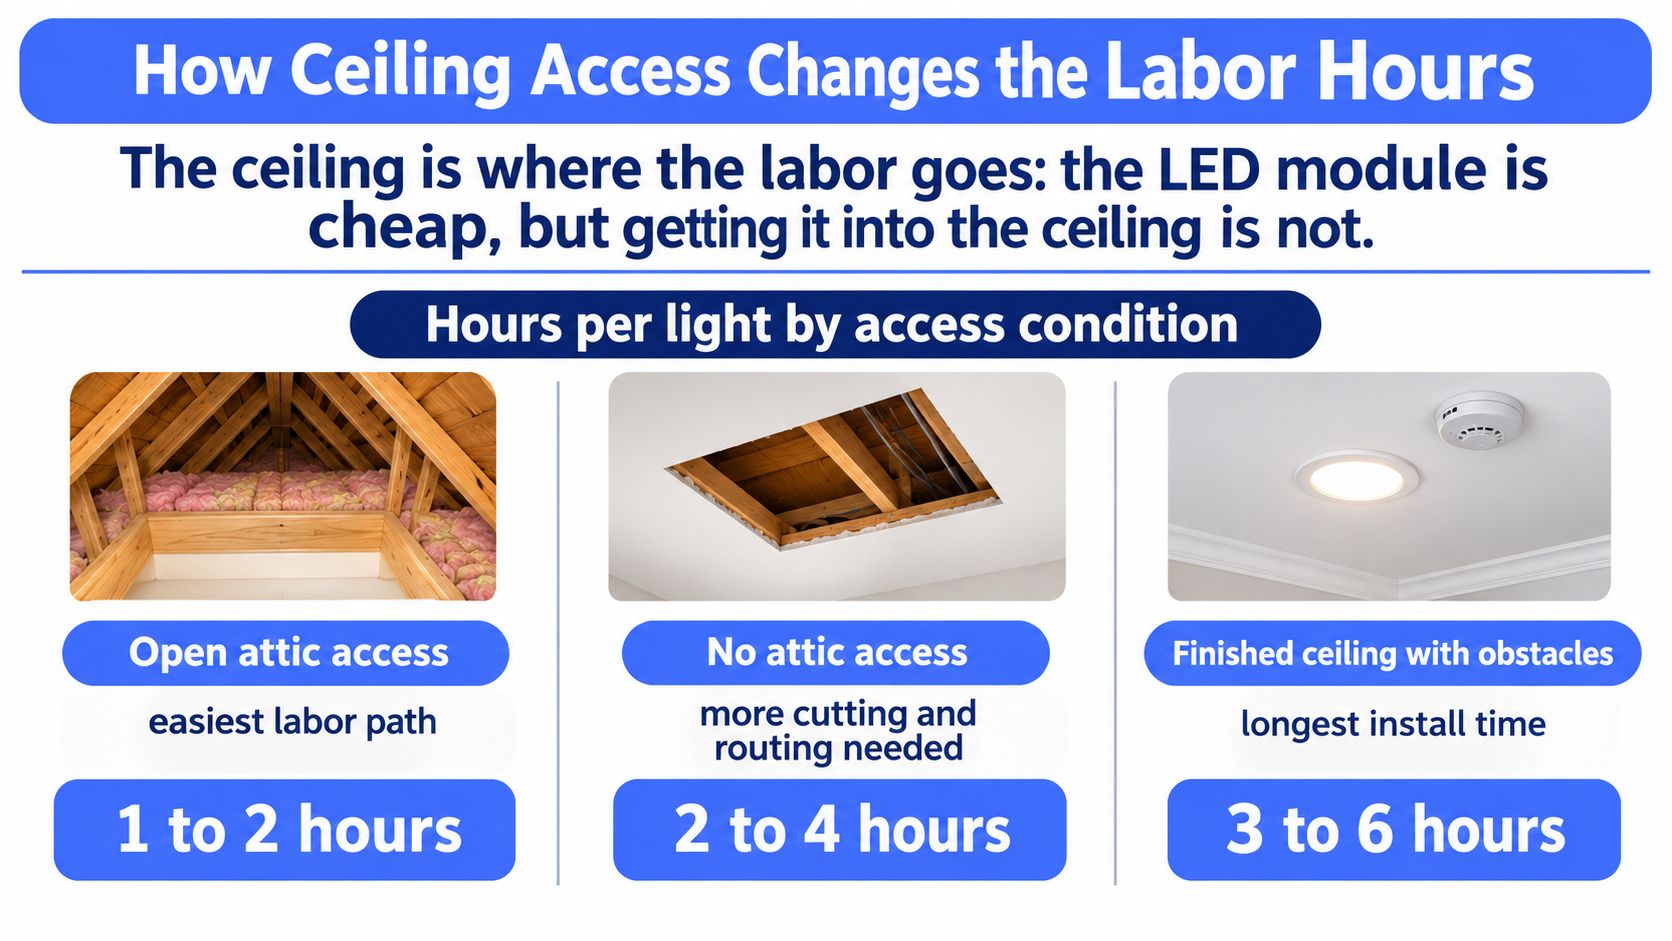
The access estimates below distinguish an easy cable route from a closed-ceiling installation. Treat them as planning references, not a promised installation schedule.
Access condition | Labor hours per light | What it usually involves |
|---|---|---|
Open attic access | 0.75 to 1.25 | Cable run from above, minimal opening work |
Finished ceiling or multistory retrofit | 1.5 to 2.25 | Cutting openings, fishing cable, patching |
Finished-ceiling benchmark | About 2.5 | Full access work, junctions, circuit testing |
The access-specific ranges are from Handoff's published estimates; HomeAdvisor's recessed lighting guide gives the separate about 2.5 labor hours per fixture finished-ceiling benchmark and an electrician billing range of $50 to $130 per hour.
Different estimating assumptions explain why the finished-ceiling figures don't match exactly. Ask whether the proposed hours include access openings, fixture installation, circuit testing, and finish repair, rather than choosing whichever estimate produces the lowest budget.
What the electrician does above the trim
Before cutting, the electrician checks joist positions and looks for ducts, pipes, existing wiring, and other obstructions. A stud finder helps locate framing; an inspection opening or borescope may be needed to confirm what's inside the cavity. Moving a light slightly before cutting is better than repairing a misplaced opening afterward.
Cable routing is the next challenge. An accessible attic lets the electrician work from above, while a closed ceiling may require fish tape, flexible drill bits, and carefully positioned access holes. Blocking and changes in joist direction can interrupt an otherwise simple route.
Electrical connections then need suitable enclosures, secure terminations, and testing. Installing the visible trim is only the final portion of that work.
Check the hours without treating them as a cap
Consider the same kitchen beneath an accessible attic and beneath a finished upstairs room. In the latter, the electrician must establish a concealed cable path without damaging the occupied space above. The fixture layout may be identical, but the installation method isn't.
If a proposal includes substantially more labor than the planning benchmarks suggest, request the reason in writing. Obstacles, difficult access, and corrective wiring work should be identifiable scope items, not unexplained extra time.
Also establish who restores access holes. Drywall patching, texture matching, priming, and painting are distinct tasks, and an electrical installation quote doesn't automatically include all of them.
Canless, Housed, and Retrofit Options Compared
A traditional recessed housing is like building the room's shell. A canless fixture is closer to fitting a prebuilt module into a prepared opening, while a retrofit kit updates equipment inside a shell that's already there.
That distinction matters more than how similar the finished trims look. According to Angi's recessed lighting installation comparison, canned fixtures can take approximately 30 to 40 minutes longer per fixture than canless units, while conversion from another light type can require 3 to 4 hours, compared with roughly 1 to 2 hours for like-for-like recessed replacement.
Option | Install time per fixture | Best use | Cost effect |
|---|---|---|---|
Canless LED downlight | Approximately 30 to 40 minutes less than canned housing | Suitable opening in a finished or new ceiling | Less housing installation labor |
Canned housed fixture | Roughly 1 to 2 hours for like-for-like recessed replacement | New construction or full housing replacement | Separate housing adds material and installation work |
Retrofit kit in existing housing | Bulb-and-trim replacement when the existing housing is compatible | Sound existing cans | Less construction work |
Converting from another light type | Approximately 3 to 4 hours | Locations needing a new recessed installation | Additional opening, routing, and connection work |
Choose by what already exists
Canless doesn't mean connection-free. These fixtures still need a suitable electrical connection, and their driver or junction enclosure must be installed according to the product instructions. Check available clearance for the entire assembly, not just the thin visible panel.
Traditional housings can make sense when the ceiling is open or when the specified lighting system requires them. Their cost disadvantage is more noticeable when someone has to fit and secure them through an existing ceiling.
A retrofit kit is a different purchase from a new installation. It replaces the lamp and trim in a compatible existing housing, avoiding unnecessary demolition when that housing remains suitable.
Check compatibility before ordering
For an existing can, confirm the housing size, attachment method, electrical connector, and condition. Check the product's insulation-contact requirements and location rating, particularly where ceiling insulation or bathroom moisture affects selection.
Similar-looking trims don't mean similar installation work. Specify the installation method, not just the appearance.
Don't assume a shallow fixture solves every obstruction. The electrician still needs a viable cable route and space for its connection enclosure. Choose the product after confirming the ceiling conditions, rather than buying a box of fixtures and expecting the installer to make them fit.
Wiring, Switches, and Dimmers Add Cost
The fixture is the faucet you can see; the wiring is the plumbing behind the wall. Reaching that concealed infrastructure can take more work than attaching the finished product.
A recessed lighting layout should therefore identify how the lights will be controlled, not just where they'll sit. Otherwise, a quote can look complete while leaving important wiring decisions unresolved.
Switch position and cable routes
A new switch needs a cable path between the wall box and the lighting run. Putting it beside an existing doorway may be convenient for you but difficult electrically if framing, tile, or built-in cabinets obstruct the route.
Existing switch boxes also need checking. The electrician must assess available space, the conductors present, and whether the box can accommodate the proposed devices and connections.
Junctions: Splices belong in suitable enclosures that remain accessible as required. Don't accept a plan that buries ordinary junction boxes behind permanent finishes.
Lighting zones: Separately controlled task and ambient groups require different wiring and controls from a single switched group.
Existing circuits: The electrician should assess what else the circuit supplies before extending it.
Match the dimmer to the LED driver
An LED label alone doesn't establish dimmer compatibility. The fixture's driver must support dimming, and the control must use a compatible dimming method. Check the fixture manufacturer's compatibility information before selecting the dimmer.
A mismatch can cause flickering, buzzing, an unstable low-end setting, or lights that won't turn off cleanly. Some combinations also need adjustment of the dimmer's low-end trim after installation.
Smart controls introduce another check: whether the selected device needs a neutral conductor at the switch. If that conductor isn't present, the electrician must consider a compatible alternative or additional wiring rather than assuming any smart switch will work.
Before signing, settle these questions:
Switch location: Where will the control sit, and what wall access is included?
Compatibility: Does the selected dimmer work with the specified fixture and driver?
Separate pricing: Are switches, dimmers, smart controls, and configuration listed individually?
Permits and Corrective Work That Raise the Total
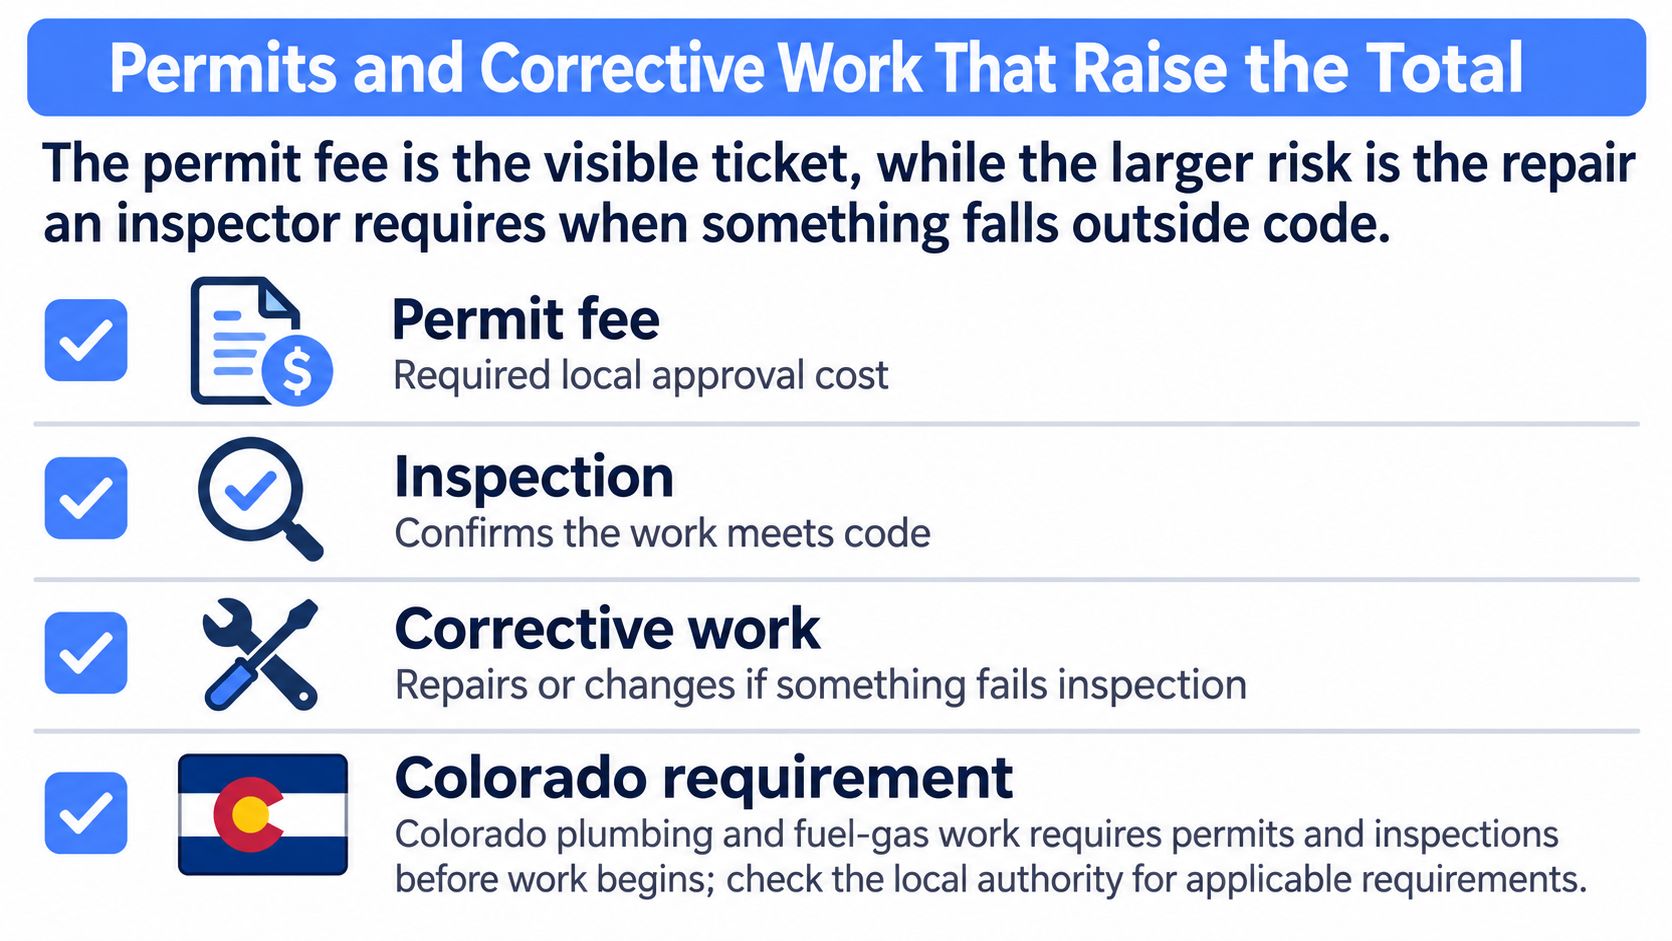
The permit fee is the visible ticket; the larger risk is corrective work required when an installation doesn't meet the applicable rules. A quote that ignores compliance can leave the homeowner paying to reopen a finished ceiling.
The Colorado electrical permit guidance states that a valid state electrical permit must be obtained before installing electrical wiring, including before homeowners begin their own work, and requests estimated material and labor costs. For a Denver-area project, establish which state or local authority has jurisdiction and which approval process applies to the address.
Identify the electrical scope
A decorative trim replacement isn't the same scope as extending an electrical installation. Describe the actual work when confirming permit requirements:
New wiring: Cable extensions or new runs to proposed fixture locations.
Switch changes: Added controls or changes to the switching arrangement.
New junction boxes: Connection points associated with the installation.
Circuit modifications: Changes to existing circuit wiring or the addition of a circuit.
Don't treat a small fixture count as proof that approval isn't required. The relevant question is what electrical work will be performed.
Assign responsibility for corrections
Inspection-related rework can involve inaccessible junctions, inadequate protection, or wiring conditions discovered after access is opened. Correcting the electrical issue may also disturb drywall that someone then has to restore.
Put responsibility for inspection corrections and finish repairs in writing before the ceiling is opened.
Distinguish pre-existing defects from problems with newly installed work. The quote should explain how discoveries will be documented, who authorizes additional charges, and how the contractor handles corrections to its own installation.
Our guidance at On Time Home Services identifies frequent breaker trips, flickering lights, added appliances, or an existing 100-amp panel as reasons a home may need a panel upgrade. Those conditions call for assessment, not an automatic conclusion that recessed lights require a larger service.
Confirm who obtains the permit, schedules inspection, and supplies completion documentation. Also require written assumptions about existing circuit capacity and wiring condition so an excluded repair doesn't become a surprise after installation begins.
Confirm an Itemized Quote Before You Book
Before accepting a recessed lighting quote, check that you can compare it line by line with another proposal. A complete scope is more useful than a polished total with no explanation of the installation assumptions.
Line item | What to confirm | Why it moves the price |
|---|---|---|
Fixture and trim | Model, LED output, housing type | Sets the material line and installation method |
Labor hours | Hours per fixture and total hours | Establishes the labor allowance |
Ceiling access and patching | Attic or finished access; repair included or separate | Identifies access and finish-restoration work |
Wiring and switches | New cable, junction boxes, switch legs | Defines routing and connection scope |
Dimmers and controls | Separate control models and pricing | Accounts for compatibility and configuration |
Permits and inspection | Who obtains approval and schedules inspection | Assigns compliance responsibilities |
Cleanup, disposal and testing | Included or billed separately | Defines the condition in which the job is handed over |
Turn the proposal into a booking decision
Mark the layout. Count fixtures per room and distinguish new openings from replacements.
Specify the fixture option. Record whether each location uses a canless fixture, housing, or retrofit kit.
Confirm labor assumptions. Request estimated hours and the access conditions used to prepare them.
List the controls. Identify switches, dimmers, and smart controls by model.
Assign permit handling. Record who obtains approval and arranges inspection.
Compare exclusions. Resolve missing finish work, disposal, and other charges before choosing a bid.
Don't evaluate efficient equipment solely on its purchase price. ENERGY STAR's downlight fact sheet states that certified LED downlights and retrofit kits can use up to 90% less energy than traditional incandescent models and that each certified fixture can save more than $80 over its lifetime.
Those savings describe certified equipment, not a guarantee that every installation will recover its construction cost. Choose efficient products, but keep the equipment decision separate from the expense of creating new lighting locations.
Our Denver-metro electrical services include recessed lighting installation, LED upgrades, smart fixture installation, and dimmer switch installation. Use the same checklist when requesting our quote or comparing another installer's proposal.
Book only when the proposal identifies the total, labor assumptions, access and patching, controls, and permit handling. If a material item is missing, resolve it before authorizing the work.
On Time Home Services offers recessed lighting installation, LED fixture upgrades, and dimmer switch installation for Denver-metro homeowners. Visit On Time Home Services to request an itemized quote, and share your room layout, ceiling-access details, and preferred controls so the proposed work matches your project.
Comments